Laravel 7 new project setup and example of consuming external API
[Draft in Chinese]
- 1. 快递安装配置 Laravel 项目
- 2. Install Laravel 安装 laravel 7
- 3. Consume an External API 开发消费外部API
- 4. Conclusion 小结
1. 快递安装配置 Laravel 项目
目前最新版本为8,本文以7.30为例。
准备工作:
- 有PHP >7.1 和Composer
- 有Node.js(没有也okay)
- 有Apache/Nginx服务
- 在命令行中进入拟安装项目的文件夹 for example,
/dev
2. Install Laravel 安装 laravel 7
composer create-project --prefer-dist laravel/laravel:^7.0 api-dev
This will install latest laravel 7 and create a laravel 7 project called “api-dev” within your nominated directory /dev.
Offical tutorial: https://laravel.com/docs/7.x/installation#installing-laravel
2.1. Set up database connection 配置数据库连接
The master configuration file is located in directory dev/api-dev/.env
Edit the following section according to your current PHP server/MySQL server, for example,
DB_CONNECTION=mysql
DB_HOST=127.0.0.1
DB_PORT=3306
DB_DATABASE=laravel-api-dev
DB_USERNAME=root
DB_PASSWORD=password
You can test your connection with laravel migrate command,
php artisan migrate
--- some migration displayed here ---
2.2. Install laravel/UI for convernience 安装laravel UI
# not to be used with laravel 7
composer require laravel/ui
this might give you a bug/error if you do not nominate a version of UI. The latest compatible version with laravel 7 is Ver 2.* therefore use
composer require laravel/ui:^2.4
Appearently you will need NPM to compile the frontend components before you can use it. Don’t panic if you dont, just copy over following two files from a existed laravel 7 project and that will do the trick.
/dev/public/css/app.css
/dev/public/js/app.js
But let’s just leave it for later to worry.
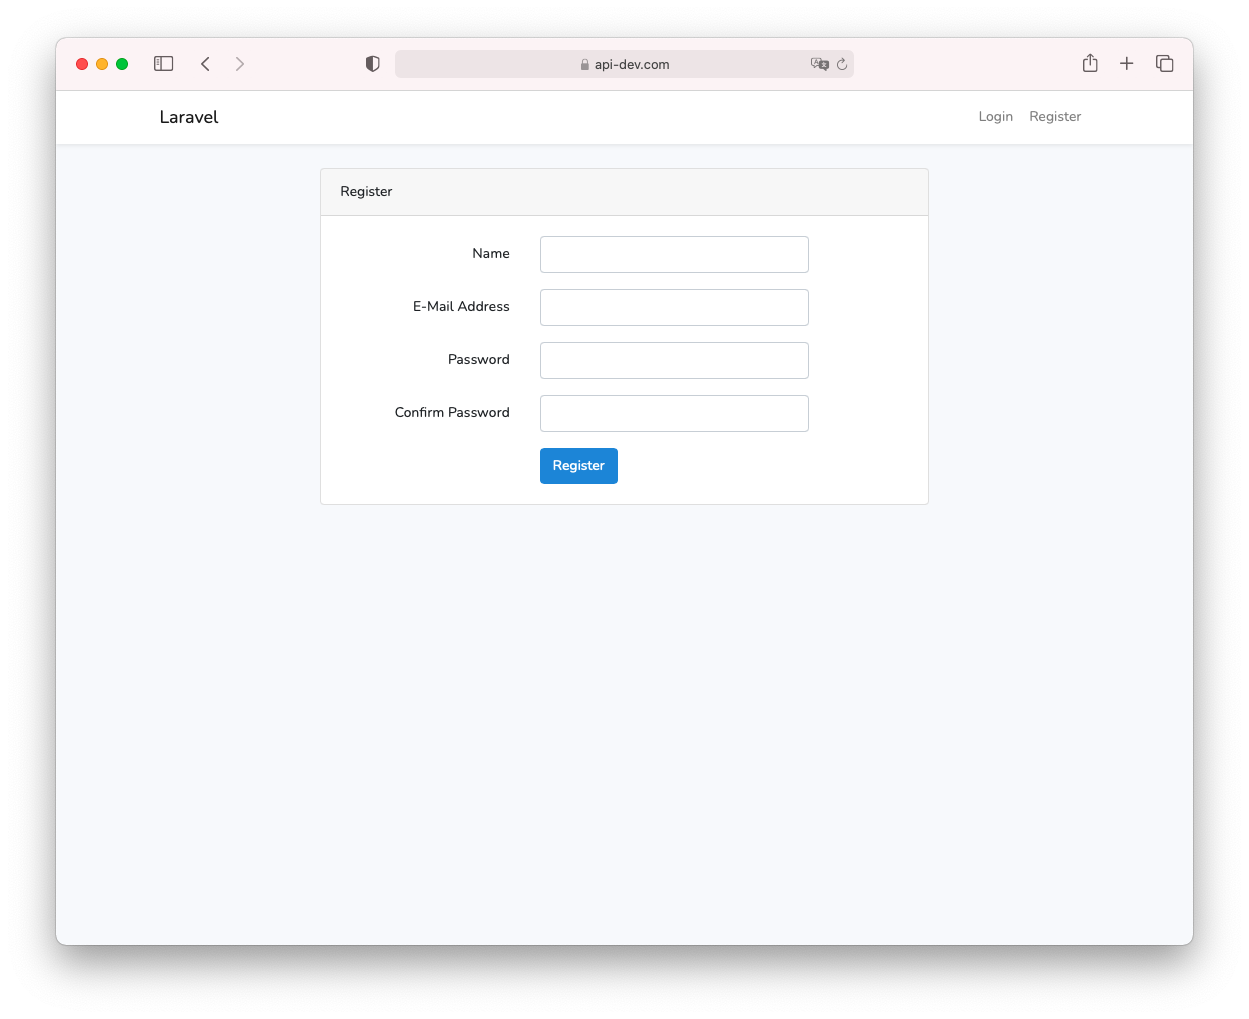
2.3. Install Authentication 安装认证(含注册登录)
laravel is provided with scarfolding to let you add very standard authentication to your laravel app. Various options available here I favour the boostrap version,
php artisan ui bootstrap --auth
Other options are vue version,
php artisan ui vue --auth
and react version.
php artisan ui react --auth
We will just keep it simple with Bootstrap.
2.4. Compile for the new frontend 编译前端组件
Finally, do
npm install && npm run dev
Off you go you are runnning a brand new laravel 7 app with original but fully functional user Auth.
3. Consume an External API 开发消费外部API
Frome here I will quote a complete tutorial that is posted by Bobby Iliev via here.
Where you full set your laravel app running with correct database connection, you are good to move on with follows,
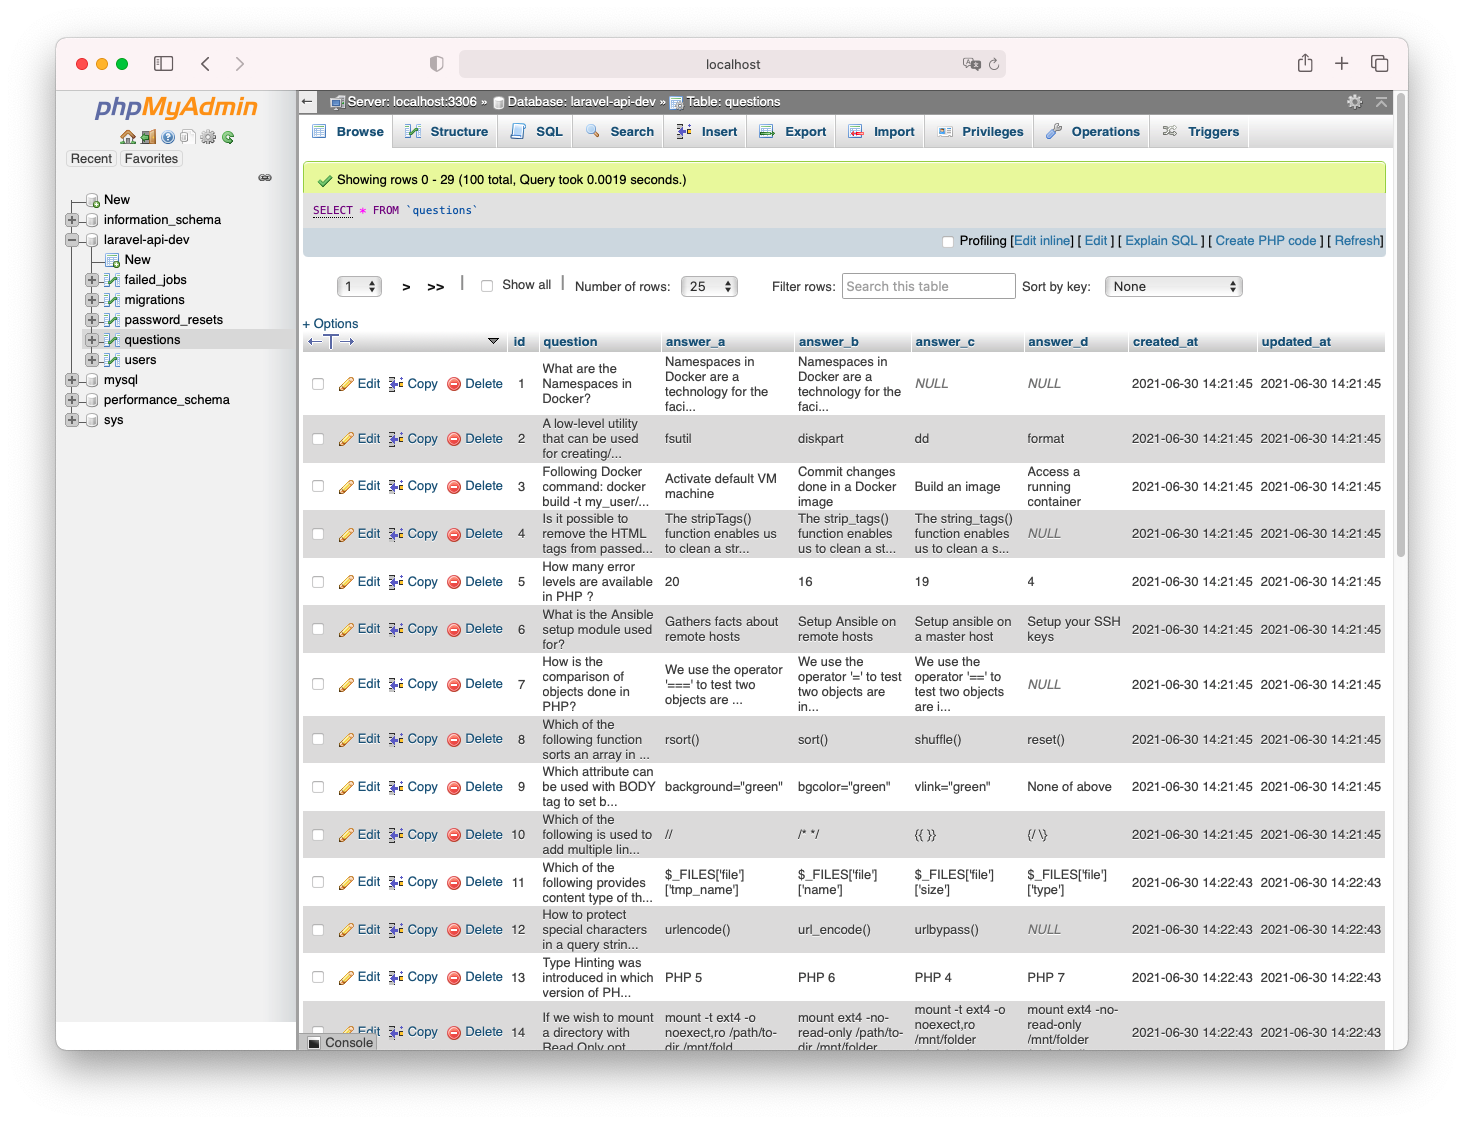
3.1. Creating a new table 添加数据表
Let’s start by creating a new table called questions where we will store the output of the requests to the QuizAPI.
To create a new table, you could use the following artisan command:
php artisan make:migration create_questions_table
Output:
Created Migration: 2021_01_09_192430_create_questions_table
This would generate a new migration file for you at:
database/migrations/2021_01_09_192430_create_questions_table.php
The Laravel migrations will use the Schema facade to create and modify database tables and columns. To keep this simple we will only store the question itself and the available answers:
 Schema::create('tasks', function (Blueprint $table) {
    $table->bigIncrements('id');
    $table->string('question');
    $table->string('answer_a')->nullable();
    $table->string('answer_b')->nullable();
    $table->string('answer_c')->nullable();
    $table->string('answer_d')->nullable();
    $table->timestamps();
});
After that, to run the migration, use this artisan command here:
php artisan migrate
Output:
Migrating: 2021_01_09_192430_create_questions_table
Migrated:  2021_01_09_192430_create_questions_table (0.02 seconds)
For more information about Laravel migrations, make sure to check out this post here.
3.2. Create the Model 新建模型
Once we have our questions table ready, let’s go ahead and add a Question model:
php artisan make:model Question
Output:
Model created successfully.
3.3. Create the Controller 新建控制器
php artisan make:controller QuestionController
Output:
Controller created successfully.
3.4. QuizAPI overview 以QuizAPI为例来演示如何消费外部API
The URL that we will be hitting on the QuizAPI is the following:
https://quizapi.io/api/v1/questions
There we need to pass a couple of parameters:
- Our API key, which you can get from here: QuizAPI Key
- And the number of questions that we want to pull (default as 10)
For more information, make sure to check out the official QuizAPI documentation.
The output that you would get will look like this once you hit the API endpoint:
[
  {
    "id": 711,
    "question": "Are arrays supported in shell scripts?",
    "description": null,
    "answers": {
      "answer_a": "True",
      "answer_b": "False",
      "answer_c": "Yes but only under certain conditions",
      "answer_d": null,
      "answer_e": null,
      "answer_f": null
    },
    "multiple_correct_answers": "false",
    "correct_answers": {
      "answer_a_correct": "true",
      "answer_b_correct": "false",
      "answer_c_correct": "false",
      "answer_d_correct": "false",
      "answer_e_correct": "false",
      "answer_f_correct": "false"
    },
    "correct_answer": null,
    "explanation": null,
    "tip": null,
    "tags": [
      {
        "name": "BASH"
      },
      {
        "name": "Linux"
      }
    ],
    "category": "Linux",
    "difficulty": "Easy"
  }
]
For simplicity, we will want to grab only the question title and the answers from A to D.
Feel free to extend the method and the database table to grab all of the information.
3.5. Building the method in the controller 在控制器中构造方法
Once we have all that in place, we are ready to start building our method, which will be used to trigger the HTTP requests to the QuizAPI, get a question, and store it in our questions table.
With your favorite text editor, open the QuestionController.php file at:
app/Http/Controllers/QuestionController.php
First, make sure to include the Question model:
# not to be used with laravel 7
use App\Models\Question;
Note: if you are on Laravel 7, you need to use the following instead:
use App\Question;
After that, also include the HTTP client:
use Illuminate\Support\Facades\Http;
And then create a new public method called fetch, for example:
public function fetch()
{

}
Inside the fetch method, we can start adding our logic:
First let’s make an HTTP request to the QuizAPI questions endpoint:
$response = Http::get('https://quizapi.io/api/v1/questions', [
    'apiKey' => 'YOUR_API_KEY_HERE',
    'limit' => 10,
]);
With the Http client, we are making a GET request, and we are hitting the `/api/v1/questions1 endpoint. We are also passing 2 parameters: the API Key and the number of questions that we want to get.
Next, as the output would be in a JSON format we can add use the following to decode it:
$quizzes = json_decode($response->body());
Then once we have the response body, let’s go ahead and use a foreach loop to store the response in our questions table:
foreach($quizzes as $quiz){
        $question = new Question;
        $question->question = $quiz->question;
        $question->answer_a = $quiz['answers']->answer_a;
        $question->answer_b = $quiz['answers']->answer_b;
        $question->answer_c = $quiz'answers']->answer_c;
        $question->answer_d = $quiz['answers']->answer_d;
        $question->save();
}
return "DONE";
The whole fetch method will look like this:
public function fetch()
{
    $response = Http::get('https://quizapi.io/api/v1/questions', [
        'apiKey' => 'YOUR_API_KEY_HERE',
        'limit' => 10,
    ]);
    $quizzes = json_decode($response->body());
    foreach($quizzes as $quiz){
            $question = new Question;
            $question->question = $quiz->question;
            $question->answer_a = $quiz->answers->answer_a;
            $question->answer_b = $quiz->answers->answer_b;
            $question->answer_c = $quiz->answers->answer_c;
            $question->answer_d = $quiz->answers->answer_d;
            $question->save();
    }
    return "DONE";
}
Now let’s create a simple route which we will hit and trigger the fetch method.
3.6. Add a route 添加访问路由
Let’s now add the route! To do so, edit the web.php file at: routes/web.php
And add the following GET route:
Route::get('/fetch', 'QuestionController@fetch');
Now, if you hit the route and then check your database, you will see the new questions in there:
4. Conclusion 小结
This is pretty much it! Now you know how to use the Laravel HTTP Client to consume an external API and store the information in your database. For more information, make sure to check out the official documentation here.
The next step would be to create a view where you could render the data that you’ve stored in your questions table!
4.1. Reference 参考文献
- 本教程后半部分原文 https://devdojo.com/bobbyiliev/how-to-consume-an-external-api-with-laravel-and-guzzle
- laravel中国非官方教程 https://laravelacademy.org/books/laravel-tutorial
- Another example https://www.twilio.com/blog/building-and-consuming-a-restful-api-in-laravel-php